
To remove window film safely, you’ll need to match your technique to the film type. Heat older films with degraded adhesives using a fabric steamer or hair dryer, then peel slowly at a consistent angle. For stubborn, baked-on tints, apply a commercial-grade adhesive remover and allow proper dwell time before scraping with a razor blade held at 30 degrees. The specific method you choose, and the mistakes you’ll want to avoid, depends on your particular installation.
Choose Your Removal Method Based on Film Type
When removing window film, your choice of method depends entirely on the film’s age, adhesive type, and condition. Older films with degraded adhesives typically respond well to heat-based techniques, while fresh installations may only require soapy water and careful scraping.
The best way to remove window film starts with evaluating your specific situation. For removing old window tint that’s bubbling or peeling, a fabric steamer provides consistent, gentle heat without risking glass damage. Stubborn, baked-on adhesives demand commercial-grade removers or ammonia-based solutions.
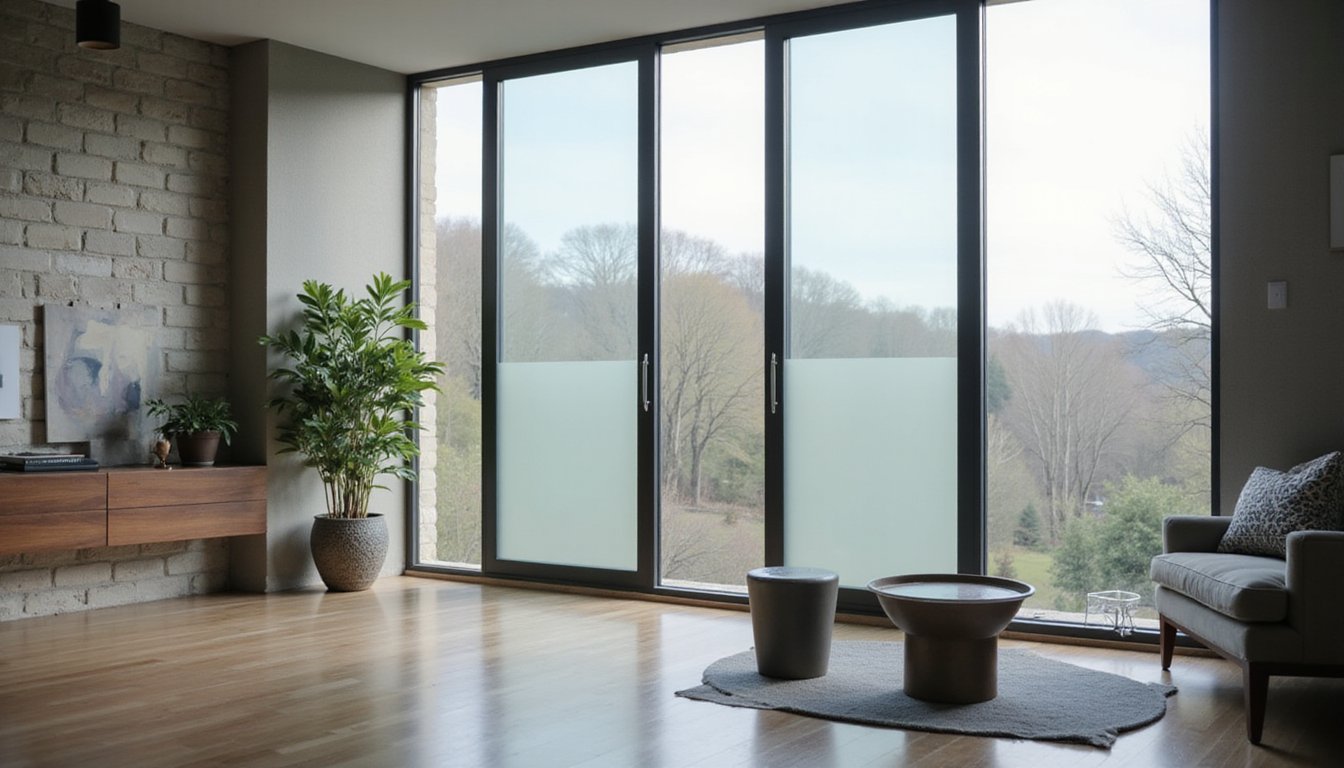
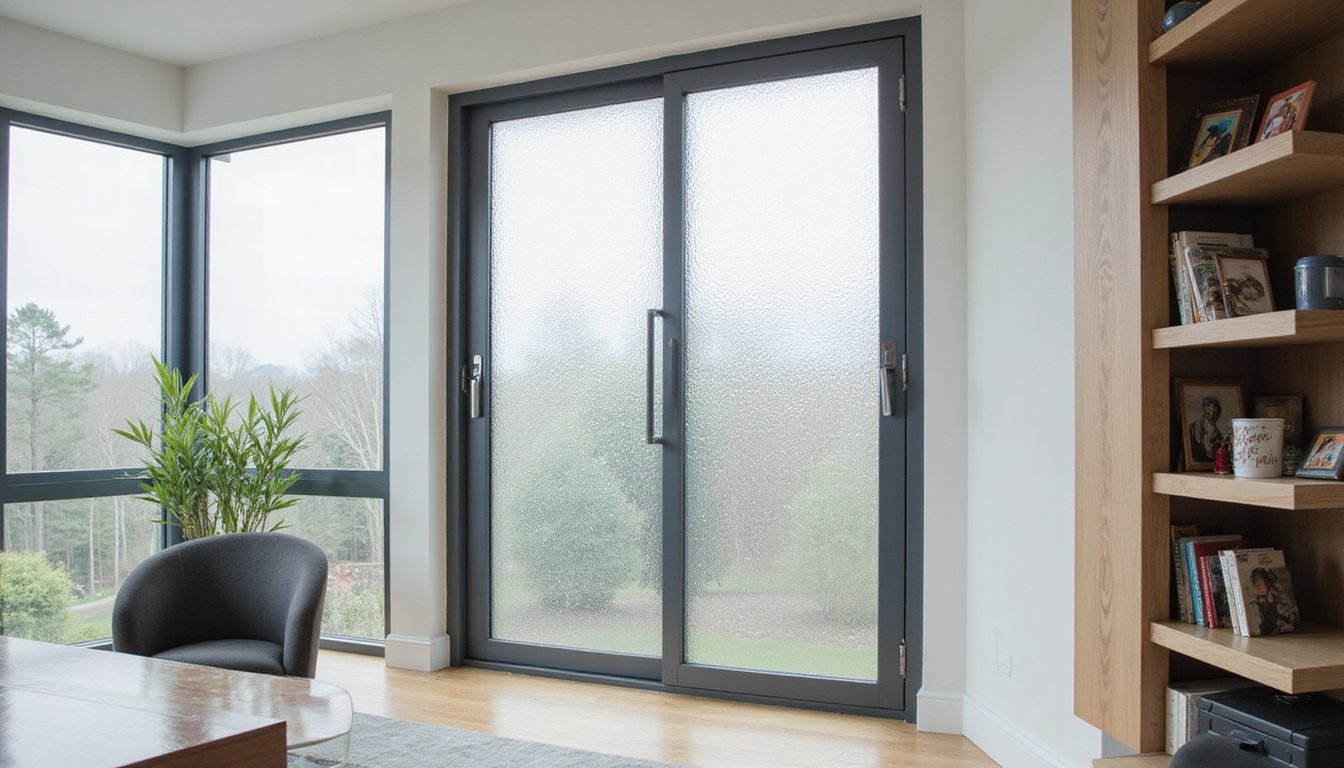
Window film removal on standard residential glass differs from automotive applications. Side windows without electronics tolerate soap-and-scrape methods, but rear windshields with defroster lines require the solar ammonia technique to prevent line damage. Always match your method to your film’s characteristics. When working on rear glass, remember that aggressive scraping can damage the delicate horizontal defroster lines, so gentler techniques with commercial adhesive removers are essential. Security film presents the greatest challenge due to its thick, multi-layered structure and typically requires professional-grade tools for safe removal.
Tools and Materials to Gather Before You Start
Five essential tool categories determine whether your window film removal proceeds smoothly or results in scratched glass and frustration. Your window film removal tools must include adhesive removers, scrapers, squeegees, cleaning supplies, and safety accessories.
Success in window film removal comes down to five tool categories: adhesive removers, scrapers, squeegees, cleaning supplies, and safety gear.
Start with these critical items:
- Adhesive remover: Professional-grade spray like Gila® Window Film Remover Kit dissolves residual glue without damaging surfaces
- Scraping tools: 1.5-inch razor blades for standard glass; plastic razor blades for sensitive surfaces like rear window defrosters
- Cleaning materials: Lint-free cloths, dish soap solution, and spray bottles for preparation and cleanup
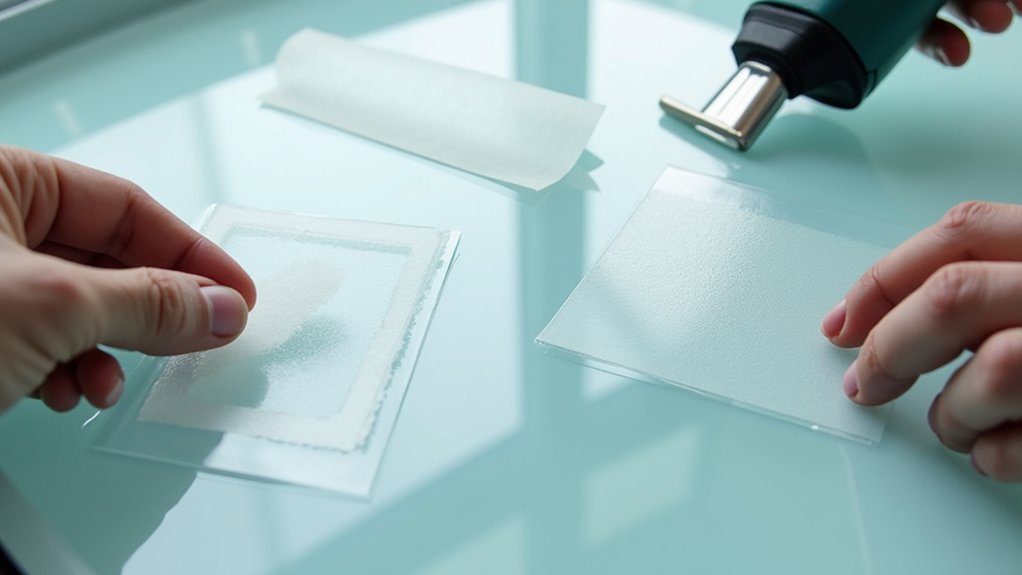
You’ll also need a hard card for tight corners and heavy-duty plastic trim removal tools to protect surrounding surfaces. The Gila® kit comes in a convenient 16oz spray-trigger bottle that’s ready to use immediately. If you’re working with curved automotive glass, consider adding a heat gun to your toolkit, as it softens adhesive and makes film easier to peel away cleanly. Warning: Any blade can scratch glass depending on edge angle and pressure applied.
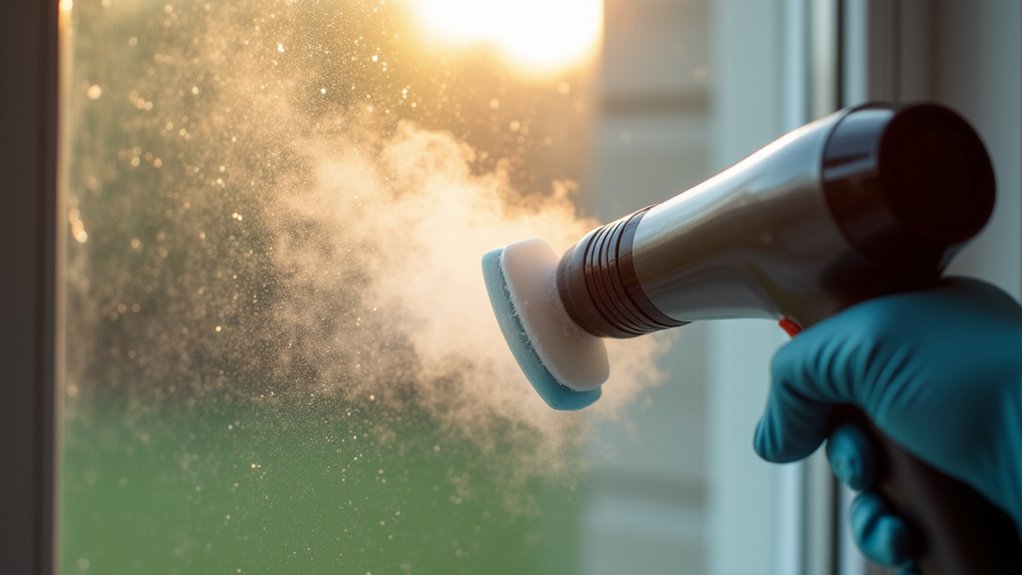
How to Remove Window Film With a Hair Dryer
A standard hair dryer provides enough controlled heat to soften window film adhesive without the intensity risks associated with heat guns or steamers. Position the dryer five inches from the film’s surface, using low to medium heat settings to avoid common window film removal mistakes like glass stress fractures.
When learning how to remove window film, start by heating a corner for several seconds per square foot. Once the adhesive softens, lift the edge with your fingernail or a plastic scraping tool. To peel window film off effectively, alternate between heating and pulling in slow, steady movements. This method works particularly well on dyed tint, which is typically easier to remove than other varieties.
Remove window film safely by working in large sections, which minimizes adhesive residue. Reheat immediately if the film tears or begins resticking to the glass. After all the film is removed, apply an adhesive remover and let it sit for 10 minutes before wiping away any remaining residue with a paper towel or cotton cloth.
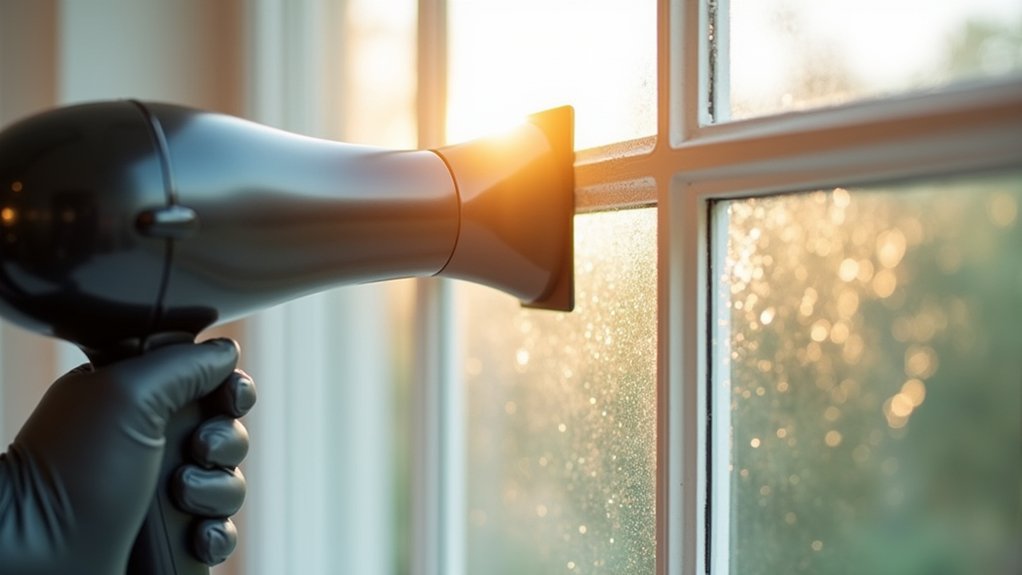
How to Remove Baked-On Tint With a Heat Gun
Heat guns deliver concentrated thermal output that softens baked-on window tint adhesive more effectively than hair dryers, but they require careful technique to prevent glass damage. Set your heat gun to low or medium, approximately halfway, and maintain 8-12 inches of distance from the surface.
Heat guns outperform hair dryers for stubborn tint adhesive, just keep the setting low and maintain proper distance.
When removing film from double pane windows, exercise particular caution:
- Keep the heat gun moving constantly in circular motions to prevent thermal stress
- Work in a well-ventilated area to dissipate adhesive fumes
- Use a plastic scraper near seals to avoid compromising the window’s integrity
Heat the corner first, then peel slowly while directing thermal output 3-4 inches ahead of your progress. This technique keeps adhesive bonded to the film rather than the glass, minimizing residue cleanup.
How to Steam Off Stubborn Window Film
When heat guns aren’t delivering enough penetration for heavily adhered film, a fabric steamer provides consistent moisture-laden heat that softens adhesive without scorching the glass surface. A quality steam cleaner can produce steam up to 135 degrees, making it highly effective for melting stubborn adhesive. You’ll need to position the nozzle at the correct distance, maintain steady movement across the film, and time your peeling technique to prevent the adhesive from re-bonding. Once the film releases, you’ll address any remaining adhesive residue using approved solvents and proper scraping methods to achieve a clean, scratch-free finish.
Steam Cleaner Setup Tips
Steam-based window film removal relies on three critical equipment factors: steam pressure output, nozzle concentration, and consistent moisture delivery. Professional-grade steamers provide harder, more concentrated output than household alternatives, though consumer models like Shark steamers offer cost-effective results for residential applications.
Before operating any steamer, you’ll need to address these setup requirements:
- Consult your owner’s manual, steam temperatures create serious burn hazards
- Monitor hose moisture levels, when gurgling occurs, raise the line to dump moisture back into the machine
- Wear protective gloves throughout the removal process
For successful window film removal without damaging seals, maintain consistent pressure regulation. Professional SteamBlade-specific equipment, such as Jiffy Pro-Line models, features specialized design that unbinds adhesive efficiently while protecting surrounding glass components. The SteamBlade system completes the entire removal process in four easy steps, significantly reducing labor time compared to conventional methods.
Peeling After Steaming
Once your steamer reaches consistent output pressure, you’ll direct the nozzle toward the film’s top corner at a distance of 2-5 cm from the glass surface. Apply steam in slow, overlapping passes for 2-5 minutes until the adhesive softens and edges begin lifting.
For successful window tint removal at home, lift the loosened corner using your fingernail or a plastic scraper. Peel slowly with light pinching pressure, pulling at an angle parallel to the glass. Avoid snatching or rapid movements that cause tearing.
Continue steaming throughout the peeling process to maintain adhesive pliability. Move the steamer back and forth across the tinted area to ensure all parts receive adequate heat. This technique typically achieves 95% clean removal with minimal residue. For stubborn sections, concentrate high-speed steam directly on resistant areas before resuming your peel. This method prevents scratches while preserving glass integrity. Using distilled water in your steamer helps prevent mineral buildup and ensures consistent steam output throughout the removal process.
Removing Residue Safely
Even with proper steaming technique, you’ll likely encounter adhesive residue that remains bonded to the glass after the film lifts away. To remove sticky film from glass effectively, hold your razor blade at a shallow angle, approximately 30 degrees, to prevent surface scratching during scraping.
Apply an adhesive remover or soapy water solution to the affected area and allow a 10-minute dwell time for proper penetration. For stubborn deposits, use these cleaning agents:
- A 50/50 ammonia-water mixture (ensure adequate ventilation)
- Commercial adhesive remover formulated for glass
- Multi-surface cleaner like 409 with a rubber squeegee
Wipe the dissolved residue using microfiber towels or cotton cloths. For windows with defrost lines, blue Scotch-Brite pads are a safe option that won’t damage the delicate heating elements. Follow with a final pass using your squeegee to achieve streak-free clarity. Always maintain proper airflow when working with chemical solutions. When using ammonia or other strong chemicals, wear proper protective equipment such as masks to protect yourself from harmful fumes.
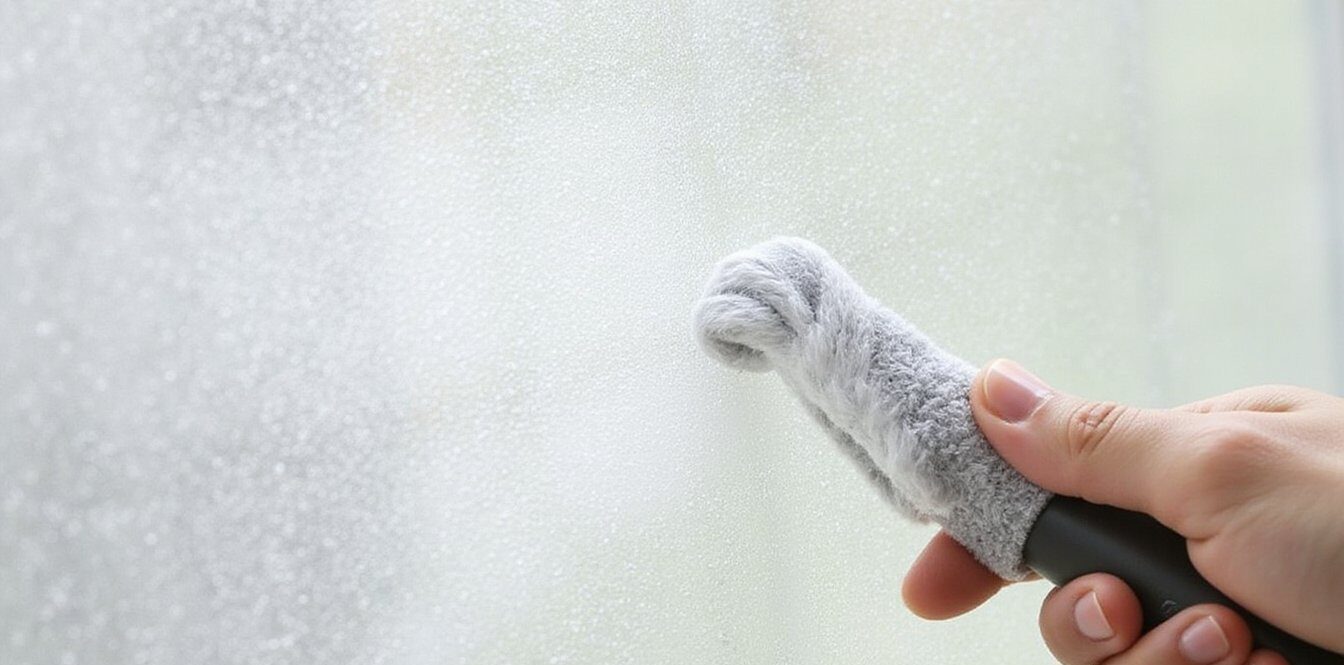
How to Remove Window Film Using Soapy Water
Most window film removal projects can be completed effectively using a simple soapy water method, which offers a low-risk approach that won’t damage glass surfaces or release harmful fumes.
For professional window film removal, mix dish soap with warm water in a spray bottle. Cut a small tab at the film’s corner, then lift gently while spraying the exposed edge. Peel slowly, maintaining continuous soapy water application to keep the adhesive lubricated.
If the film resists, reapply your solution to prevent tearing. Hold your razor blade scraper at a low angle, keeping the glass saturated throughout the process. This technique minimizes scratch risk while effectively dissolving adhesive bonds. Work patiently, older films typically require multiple passes for complete removal. Patience is key since the removal process can be time-consuming depending on the type and age of the installed film.
When Solvents Work Better Than Heat or Water
While soapy water handles most standard window film removal jobs, certain adhesive types resist water-based methods entirely. When you’re dealing with aged tints or thick adhesive layers, solvents provide chemical dissolution that water cannot achieve.
Consider solvents when you encounter:
- Stubborn residue that remains after film peels cleanly
- Automotive-grade tints with industrial adhesive formulations
- Time-sensitive projects requiring faster dissolution than heat methods
Acetone breaks down adhesive bonds rapidly when applied sparingly with a microfiber cloth. For less aggressive treatment, 70% isopropyl alcohol cuts through sticky residue without streaking. Commercial removers like Goo Gone offer precision targeting while minimizing scratching risk during scraping.
Solvents also provide lubrication that dry heat methods lack, protecting glass surfaces throughout the removal process. Always guarantee adequate ventilation when working with chemical agents.
Safe Scraping Techniques That Won’t Scratch Glass
When scraping residue from glass, you’ll want to hold your razor blade at a consistent 45-degree angle to prevent gouging the surface. Always wet the glass with a soapy slip solution before scraping, as dry scraping creates micro-scratches that compromise optical clarity. Use fresh, single-edged blades and apply only light pressure, let the blade’s sharpness do the work rather than forcing it against stubborn adhesive deposits.
Proper Razor Blade Angle
Razor blades remain one of the most effective tools for removing window film adhesive, provided you maintain the correct scraping angle throughout the process. You’ll achieve ideal results by holding the blade at a 30-45 degree angle relative to the glass surface. This positioning guarantees the cutting edge glides parallel to the substrate without gouging.
Key angle maintenance principles:
- Steeper angles beyond 45 degrees drastically increase scratch risk on tempered or annealed glass
- Consistent angle control throughout each stroke prevents blade tip dig-in
- Practice on an inconspicuous section before addressing visible areas
Apply steady, light pressure while scraping. You shouldn’t force the blade, let the angle and sharpness perform the work. Inspect your progress under direct light to detect micro-scratches early.
When to Scrape
Before you begin scraping any window surface, you’ll need to confirm proper heat and lubrication preparation, skipping these steps virtually guarantees scratches on your glass.
Apply heat until film loosens visibly at edges. Alternate between heating and peeling to prevent re-adhesion during the removal process. Wait for consistent warmth across the glass surface, confirm by touch before proceeding.
Spray soapy water generously on adhesive areas before razor contact. Apply slip solution or let adhesive remover dwell for 10 minutes prior to scraping. This lubrication creates a protective barrier between blade and glass.
Post-peel, assess residue carefully. Scrape only stubborn areas after primary removal completes. Clean the entire surface with microfiber first to identify specific spots requiring scraper attention. Target light residue with soap-and-water combinations; address heavy-duty glue remnants only after proper chemical dwell time.
How to Get Glass Crystal Clear After Removal
After you’ve successfully removed the window film, achieving crystal-clear glass requires proper cleaning techniques and the right materials.
Apply a vinegar-water solution or commercial window cleaner to dissolve remaining adhesive residue. Allow the solution to soak for ten minutes before wiping. For stubborn residue, use a specialized adhesive remover to soften deposits without damaging the glass surface.
Essential tools for streak-free results:
- Lint-free microfiber towels for drying without leaving fibers
- Squeegees to remove excess moisture evenly
- Soft sponges for final surface preparation
Wipe in consistent directions following window edges to maintain clarity. Conduct a thorough inspection to identify any scratches or defects that may require professional treatment before installing replacement film. Complete the process with a final glass cleaner application to restore ideal transparency.
Mistakes That Leave Residue or Damage Glass
Even with proper cleaning techniques, several common errors during the removal process itself can leave you with stubborn residue or permanent glass damage.
Skipping dwell time for adhesive removers prevents complete glue breakdown, while applying products to cold glass inhibits proper softening. Using dirty cloths spreads residue across the surface, and inadequate rinsing leaves persistent haze.
You’ll increase tearing risk by peeling too quickly without reapplying heat or handling brittle film with excessive force. Uneven heat application causes warping and snap-back.
The most critical mistake involves using metal razor blades on dry glass, this guarantees permanent scratches. Always wet the surface with solution first and avoid excessive scraper pressure. On rear automotive glass, metal tools will sever defroster grid lines. Switch to plastic scrapers for delicate areas and heated elements.
Ready to upgrade your windows with professional care? At Ecovision Window Films, our experienced team provides personalized window film solutions tailored to your needs. From safe window film removal to premium new installations, whether commercial, residential, healthcare, or government buildings, we stand by your side at every step. Crystal-clear, damage-free windows are within your reach. Call (236) 862-0052 today and let our experts handle the rest.
Frequently Asked Questions
How Long Does Window Film Typically Last Before It Needs Removal?
You can expect most window films to last 5, 15 years before requiring removal. Ceramic films typically perform longest at 15, 20 years, while decorative films may need replacement within 5, 10 years. Your film’s lifespan depends on sun exposure, installation quality, and climate conditions. South- and west-facing windows experience faster degradation. Watch for peeling, bubbling, or discoloration, these indicate it’s time to safely remove and replace your film.
Can I Remove Window Film in Cold Weather or Only Warm Conditions?
You can remove window film in cold weather, but you’ll face significant challenges. Cold temperatures harden adhesives, making the film brittle and prone to tearing. You’ll need to apply consistent heat using a hairdryer or heat gun on low settings to soften the adhesive effectively. Work in small sections and use plastic scrapers exclusively to prevent glass scratches. The process takes longer in cold conditions, so patience and repeated heat application are essential.
Will Removing Old Film Void My Window Warranty?
Removing old film typically won’t void your window warranty, it’s the installation of film that creates warranty concerns. Most manufacturers exclude coverage when aftermarket films cause thermal stress or seal damage. However, you should review your specific warranty terms before proceeding. If your windows are already out of warranty, removal poses no coverage risk. Document the window’s condition beforehand, and use proper techniques to avoid scratching the glass surface.
How Do I Know if My Film Contains Ammonia-Sensitive Materials?
You typically won’t find ammonia-sensitive indicator dyes in standard residential window film. These specialized materials, like bromophenol blue, bromocresol green, or thymol blue embedded in PTFE or chitosan carriers, are designed for industrial ammonia leak detection, not home tinting applications.
However, if you’re unsure about your film’s composition, check the manufacturer’s SDS (Safety Data Sheet) or contact the installer directly. This precaution helps you select appropriate removal solvents safely.
Should I Hire a Professional for Multi-Pane or Sealed Window Units?
Yes, you should hire a professional for multi-pane or sealed window units. DIY removal risks scratching glass, damaging seals, and leaving adhesive residue or ghost lines that become visible in sunlight. Professionals use steamers and infrared lamps to soften adhesive safely, reducing glass damage likelihood by 90%. They’ll complete the work in 90 minutes to 2 hours with workmanship warranties up to five years, protecting your investment against costly repair scenarios.